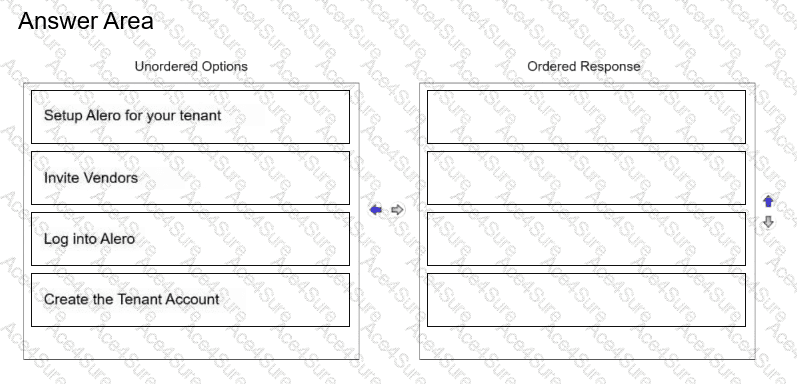
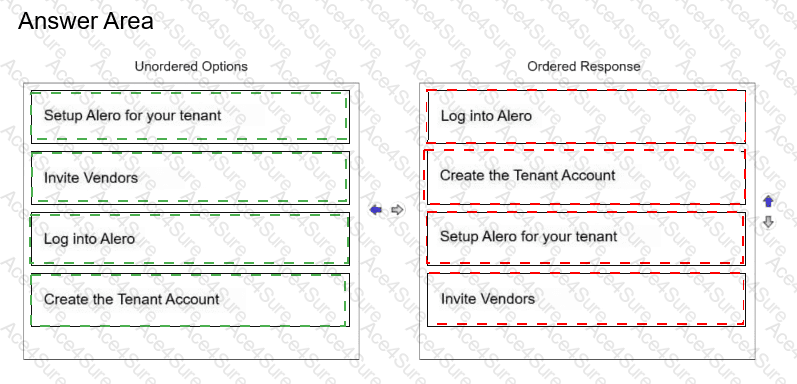
See correct matching / sequence below.
Original description / order
Correct match
1
Log into Alero
2
Create the Tenant Account
3
Setup Alero for your tenant
4
Invite Vendors
CyberArk Alero, the former product name associated with CyberArk Remote Access, provides secure remote access for external vendors and privileged employees without relying on traditional VPN-based access.
The tenant creation workflow establishes the administrative and security foundation required before external users can access managed enterprise resources.
The process begins by logging in to the Alero administration environment using an appropriately authorized account.
Next, the administrator creates the tenant account. The tenant represents the organization's logical Remote Access environment and provides the administrative scope for configuring users, applications, and access policies.
After tenant creation, the administrator configures the tenant environment. This includes the applicable authentication settings, Remote Access configuration, privileged-access integration, and permissions required for the intended deployment.
Once these foundational settings are established, external vendors can be invited into the environment.
Vendor invitations should be issued only after the required access configuration has been completed. This reduces the risk of users entering an incompletely configured environment or receiving unintended permissions.
The sequence therefore follows the dependency chain of authentication, tenant creation, tenant configuration, and vendor onboarding.
Technical warning / qualification: Alero is legacy product terminology. The process should be interpreted in the context of the product generation represented by the question.
[Reference:CyberArk Alero / Remote Access — Tenant Creation, Tenant Administration, Vendor Invitations and Privileged Remote Access Configuration.]